The studio moved to a new address with a lot of people to consult the passport photos, so plans to buy a photo printer to take advantage of the size, after understanding the Internet, and ultimately decided to start sublimation printers, the size of the photo can be more appropriate, compared to professional photo printer prices Low, the effect is much better than the general picture printer, usually can also print photos in the phone point, you can save the purchase of Polaroid money.
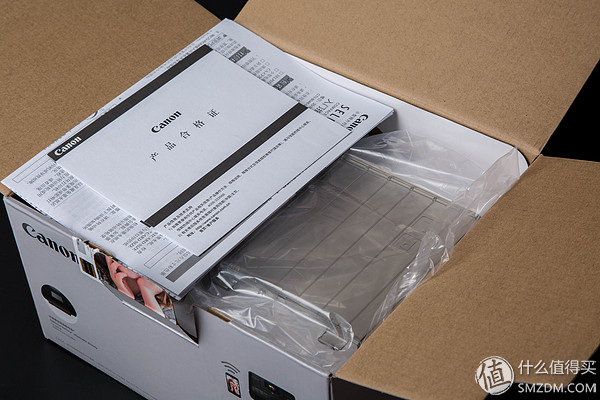
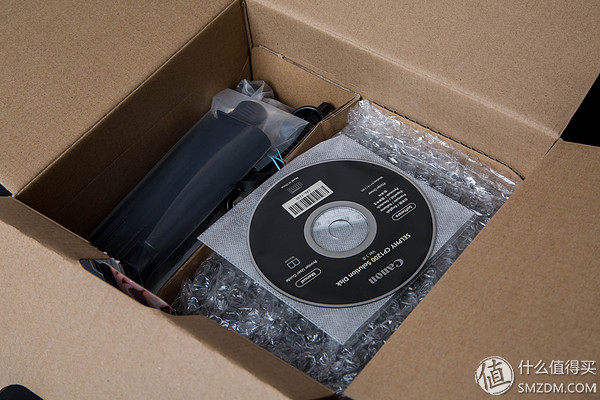
Go to the photographic equipment city to buy props, just to see a printer next door, go in and chat with the boss, put the cp1200 set. Pseudo-opening is due to physical store purchases, and the box has been opened after inspection. In order to make the map, only reinstall things and pretend to come again.
Physical store purchases, only with the connection of a tea house, concerned about a period of time, the price is relatively stable:
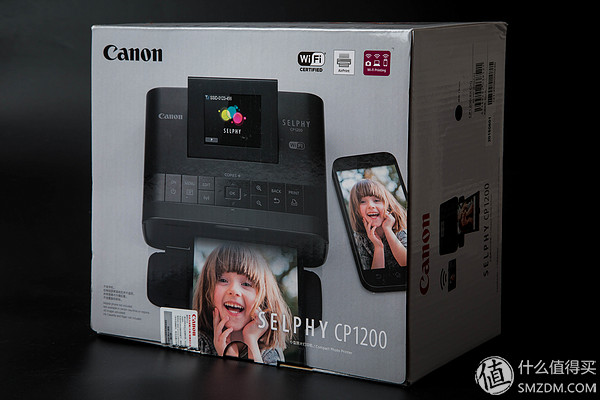
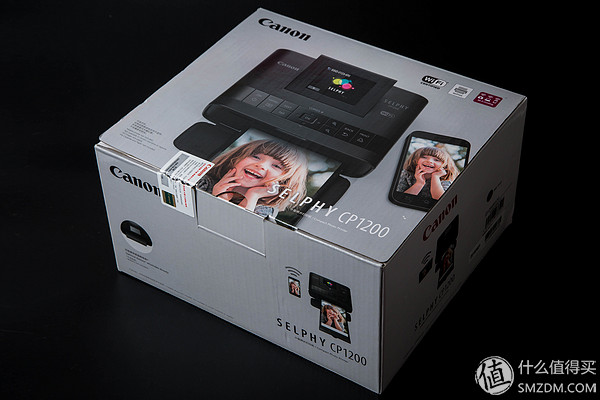
Look at the packaging is the style of the C family, the seal has been dismantled in the store
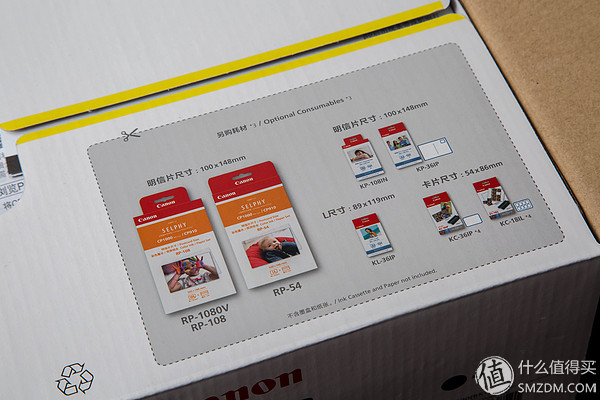
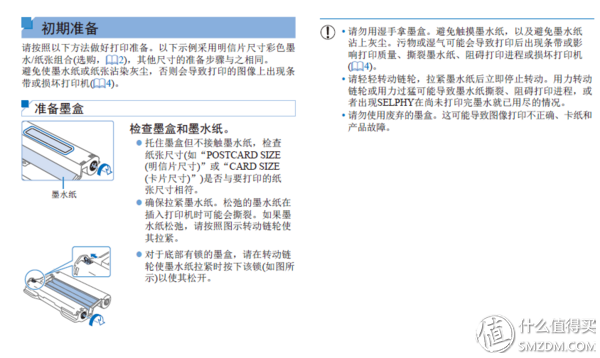
After uncovering the cover, the size of the printed paper is required on the package. In order to ensure the printing effect, it is recommended to buy original paper and ribbons.
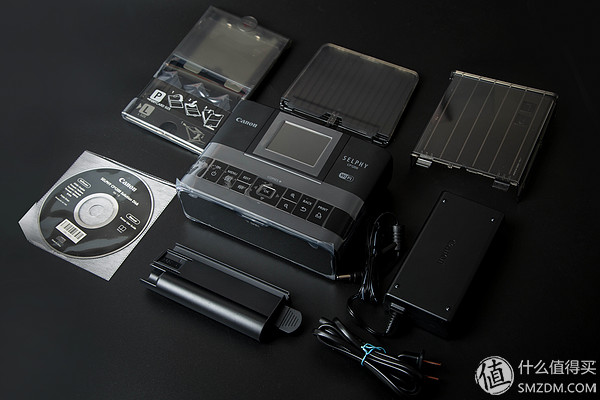
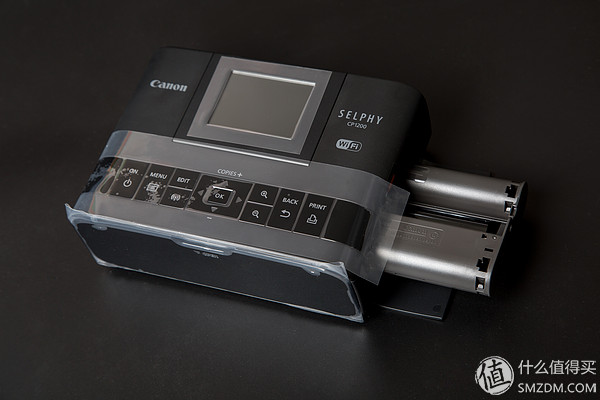
Although the printer head is small, but there are many accessories, mainly dust-proof kit, this printer is more sensitive to dust, some friends said that the printed photos have white bars, that is, the ribbon into the gray, you can use the built-in cleaning kit to clean up under.
Note the detailed instructions for use On the CD-ROM, Canon does not even have a detailed paper manual for advocacy.
Same milk tea house connection:
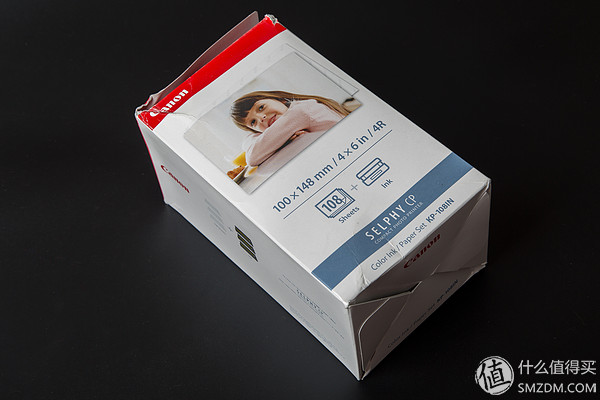
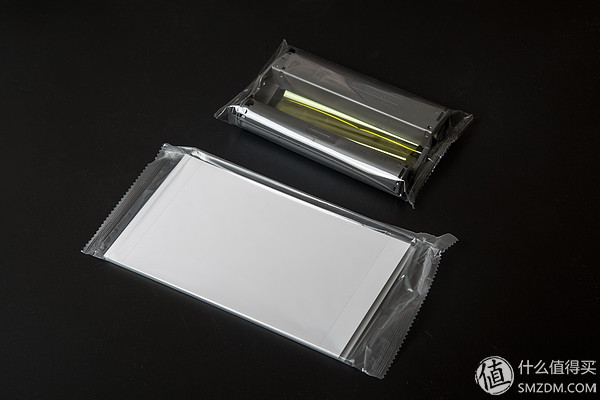
This is the original ribbon and photo paper. When this box is bought, the box is squeezed, but it does not affect the use. There are a total of 3 packs of photo paper (108 sheets of 4x6 inch) and 3 with ribbon, each pack The camera corresponds to an ink stick.
Out of the box to this end, the following assembly deformation, print a picture to feel the effect.
The ribbon is inserted into the right side of the body, and the attention can be taken when inserting it. If the ink ribbon on the ribbon needs to be tight, it may damage the ribbon.
The diagram of the previous manual sees the detailed operation.
Next install the dust kit:
This is the paper feed end. The paper slot has two sizes, 6 inch (P) and 5 inch (L). I bought the 6 inch paper. I need to take out the paper slot from L, and then put the paper in. There is a very human nature on it. The pattern guides up to one pack of paper at a time.
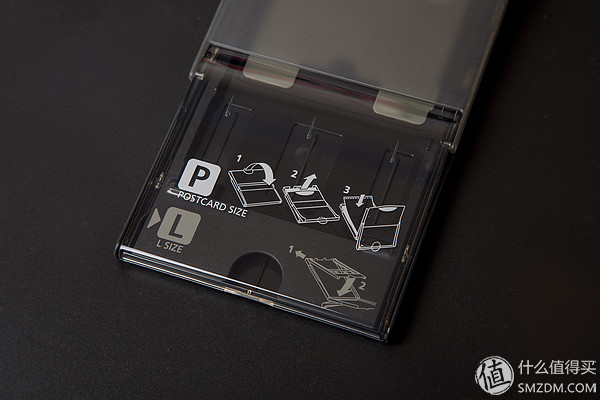
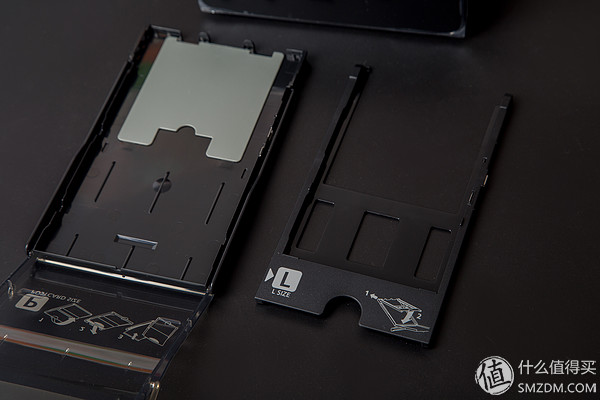
Then insert the feed end into the machine. Interface in the dust cover in front of the machine, open the lid can also see a sd card slot at the top left, you can directly insert the card to print.
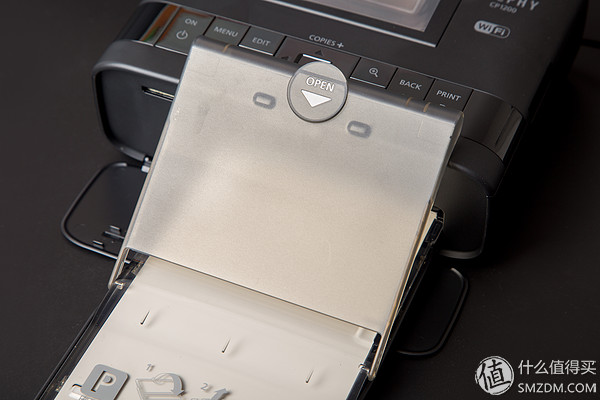

After the paper slot is installed, a dust cover is installed and the front paper feed end is installed.
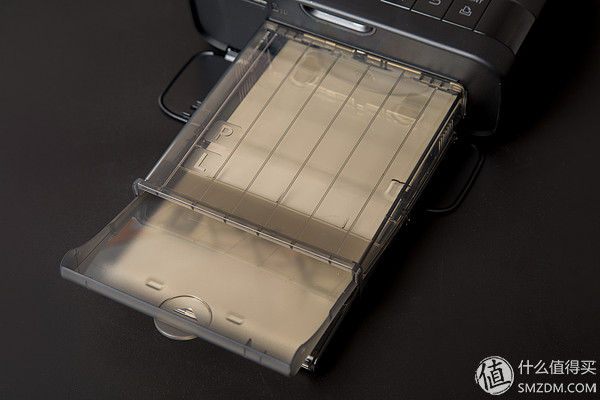
Adjust the head and start to install the rear dust cover. When the printer is working, the paper enters the machine from the paper feed end, and then the entire paper will be sent out from the back of the machine. So there is a dust box that receives the paper. 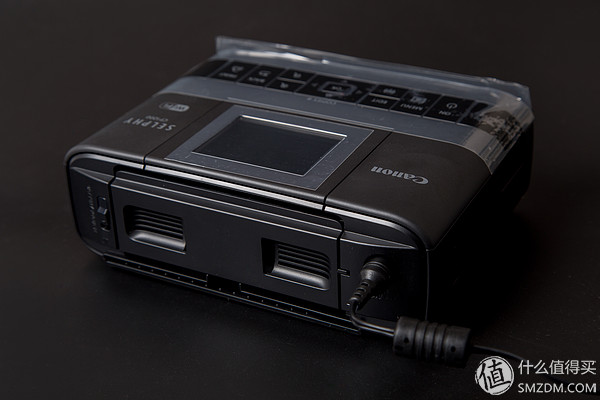
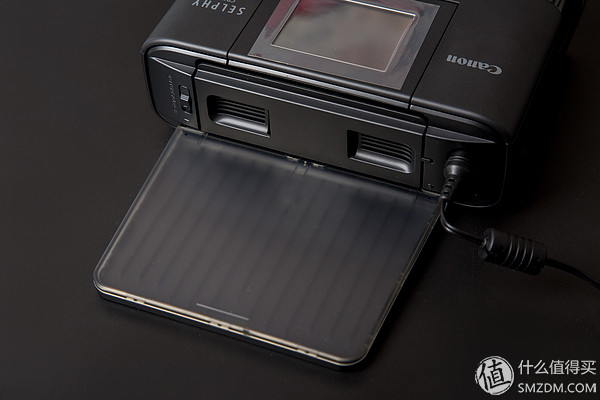
After installation, the power is applied.

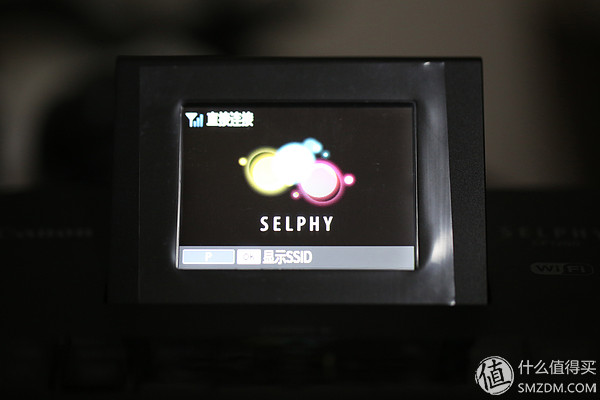
At present, only the mobile phone is directly connected to the WiFi printer. The connection is very simple. Just like WiFi is usually used, the WiFi name and password will be displayed on the camera. On the fruit phone, you can enter the picture and choose to print.
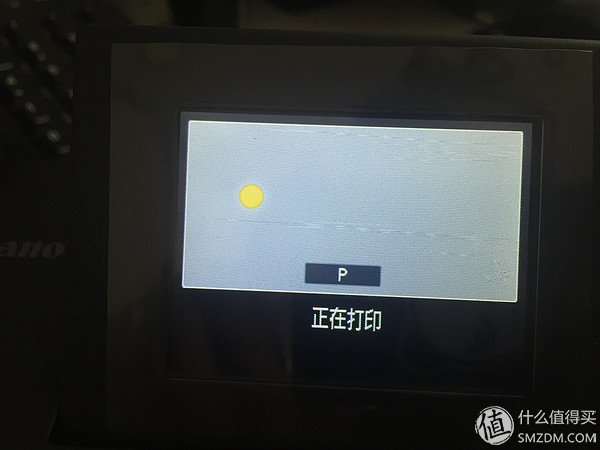
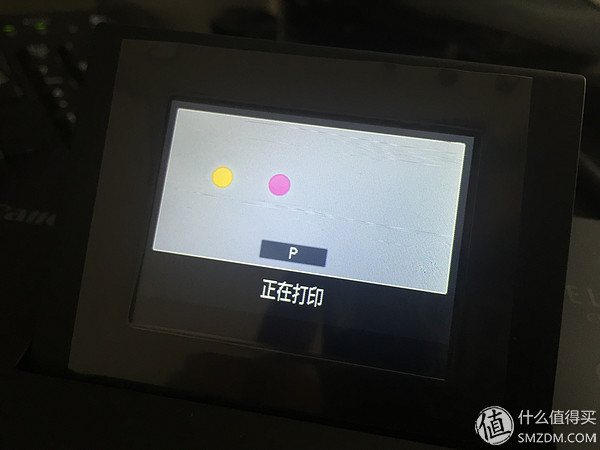
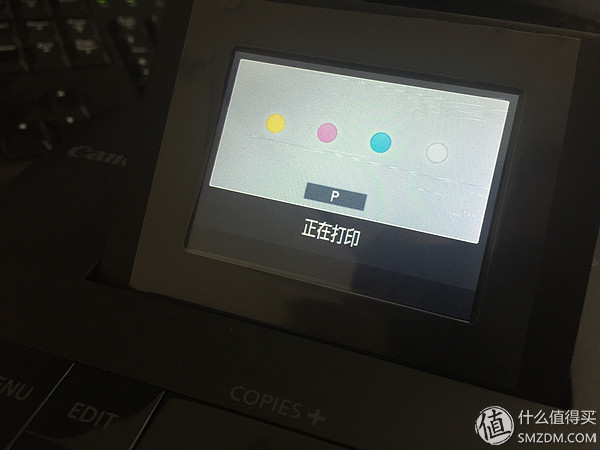
The printing speed can also be, the paper needs to go in and out 4 times to complete the printing, each printing a different color, 4 times is the color of the photo itself, when the printer pays attention to go, and forget to take pictures.

Originally only wanted to take a picture, but Xiao Bian asked to attach the use of feelings, so he took a picture of the boot, the back of the picture shot with a cell phone, the picture quality is not very good, focusing on the use of feelings.
1. First connect the machine and connect directly in the wifi.

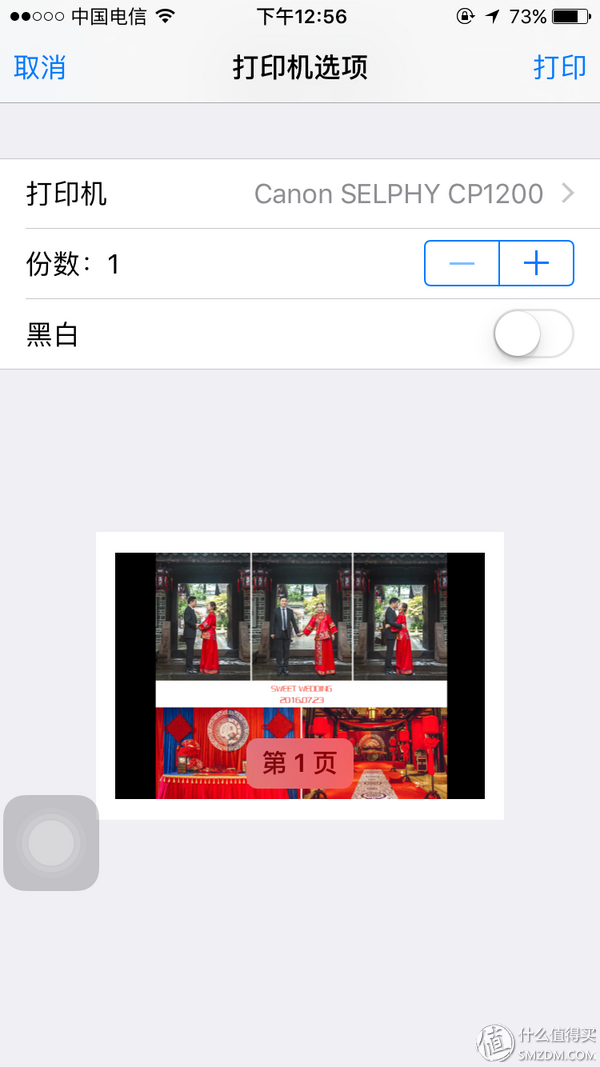
2. Apple phones print directly with Air-print.
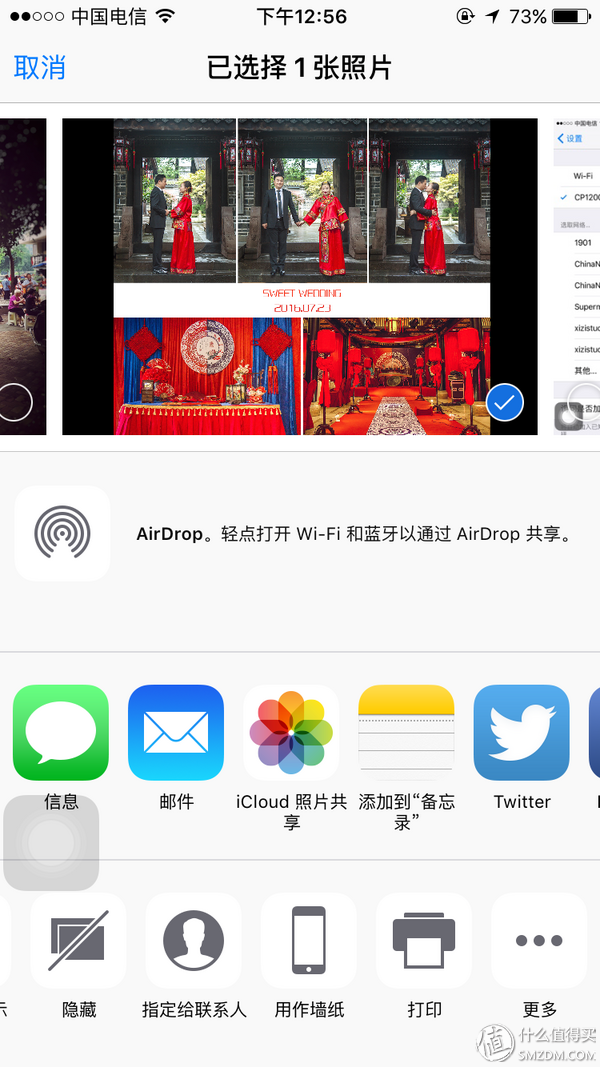
3. Confirm the print, click on the upper right corner to print.
4 connected to the machine to print, this error has occurred, under the study, the problem is a paper problem, Zhang did not put it neatly, so the number of print is not much, then the best one by one to print, the machine will not be placed smoothly this problem.
If this problem occurs, press Cancel, sort the paper, and then press the print on the machine to continue the last print.
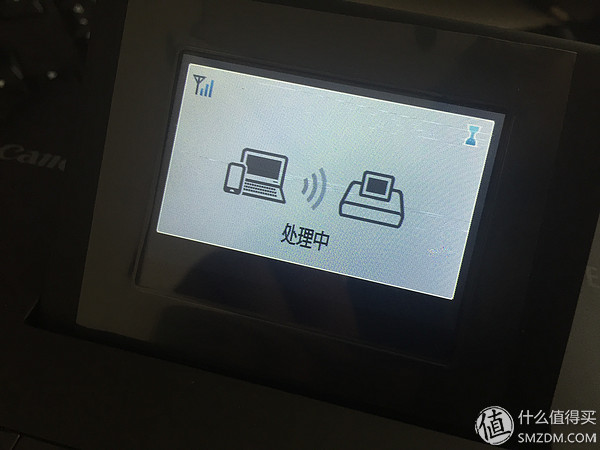
 5. Normal print connection.
6. Finish printing after four times of coloring. This process takes about 1 minute (determined by the time the picture was taken)

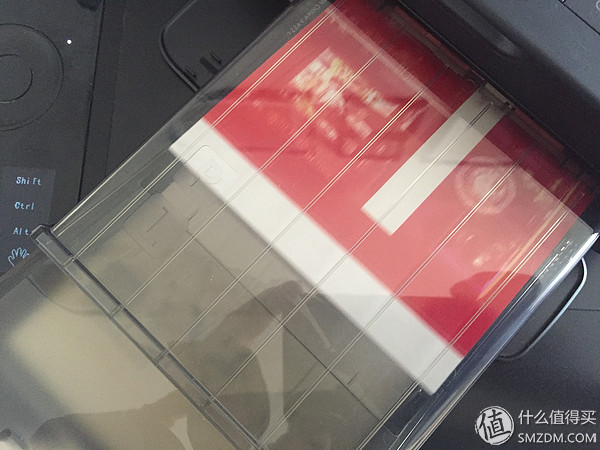

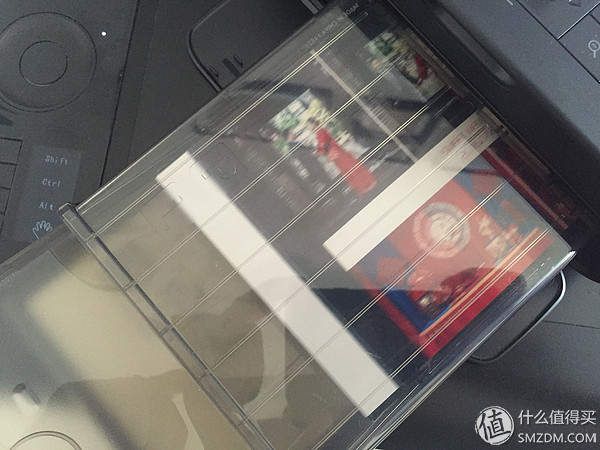

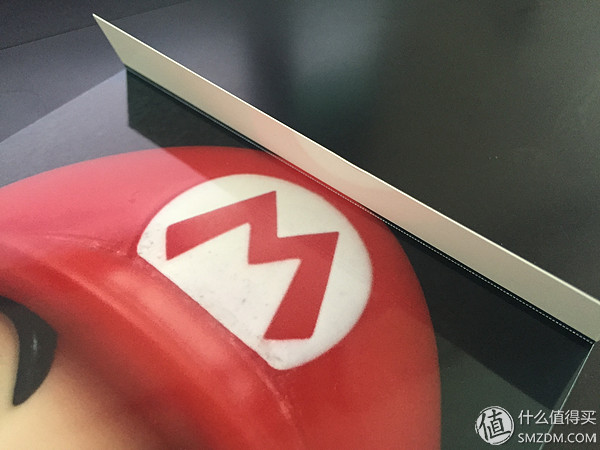
6. After the printing is finished, the paper has white borders, but there is a tooth pattern to facilitate the removal of the white border. The printed diagram has customer information, and a new one is displayed.
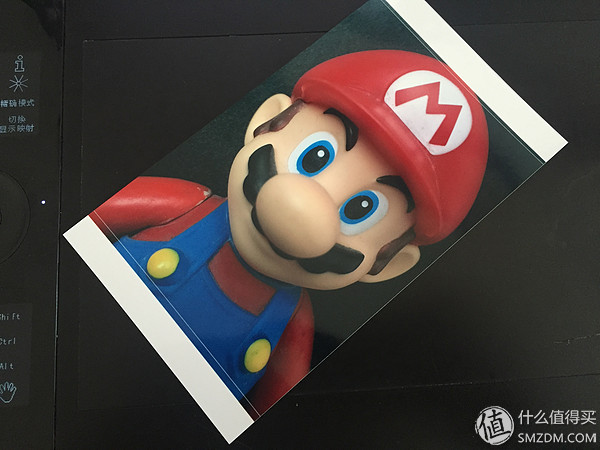

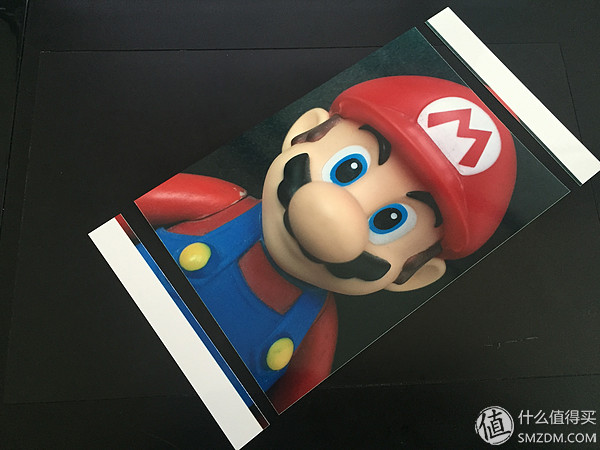
7. In the end, the printing effect was compared. The camera did not make any settings. The color saturation of the photos was reduced.
When printing can be set to increase saturation.
 The figure above is the original print; the following figure is the finished product
Summarize the advantages and disadvantages:
Advantages: The printing effect is higher than the ordinary photo printer;
Use original ribbons and cameras to save the effect for a long time, not faded;
You can print photos at home without running the studio.
Disadvantages: Consumables can be a little expensive for home use. Each photo costs more than one dollar, which is higher than the online print price.
Print size is limited, large-size photos cannot be printed;
I think that only the printed pictures are called photos, so friends who like to take photos can start, like to record children, girlfriends can also start, print some pictures of their own to do a photo wall ah, posted on the refrigerator is still good! And now that mobile photography is so effective, you can save Polaroid money when you start.