The last time we talked about equipment purchases, we were greatly appreciated and supported by many friends. It has also been questioned by many friends, and I also express my gratitude, because with your doubts I was more willing to continue to write down. Do not talk nonsense......
Photography doesn’t talk about the art of light. After talking about space here, after all, taking a good photo, we must first understand several important parameters of the camera.
First, aperture: I don't write its official explanation in writing. I compare it to a door. Then the camera "F (number)" represents the size of the aperture. Then the smaller the number behind F, the larger the corresponding aperture. Then the more the door is opened, the more light it enters and the more bright the picture is, and the darker the picture. It must be noted here (the size of the number behind F is inverse to the size of the aperture: F2>F10's amount of light) Don't know that we can understand? And the aperture size also determines the depth of the focal plane (that is, the focal point is the distance between the parallel lines. The larger the aperture is, the shallower the depth of field is. The narrower the focal plane is, the larger the aperture is and the deeper the depth of field is. Clear The focal plane range is wider.)
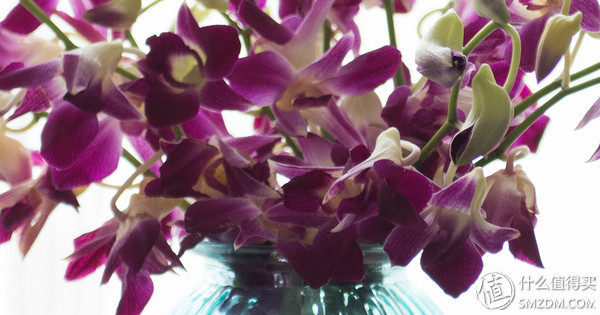
There is also a function of the aperture that is what we generally say is the blur, the bigger the aperture is, the better it is? Not necessarily, my students once asked me: Is it necessary to blur the aperture? I have given her a demonstration of the positional relationship between the photographer and the photographer-background. The closer the photographer is to the photographer, the farther away from the background the blur must be good, and vice versa. Of course, this large aperture in the same position is definitely better than the small aperture. Figure 1 below a large aperture, Figure 2 shooting scene a small aperture:
F 1.4 1/320 seconds ISO 100
F 7.1 8 seconds ISO 100
Second, the shutter: I also likened it to a door, the camera is generally "1/? S" to indicate the speed of closing, then the faster I turn off the light into the natural, the corresponding picture will be dark, On the contrary, the photo becomes brighter. Then here (1/2s > 1/30s of incoming light),
Each of our lenses has a corresponding safety shutter. The explanation of the safety shutter here is that ordinary people can adapt to the camera's normal shutter jitter and the photograph taken is not blurred (no upward focus). The corresponding focal length of the lens then has a corresponding safety shutter. Speed: For example, the general kit lens 18-135 contains a lot of focal lengths. When using the 18th lens, our shutter should reach 1/20 s or more (if it is a broken accessory, it must be more than 1/30 s, because it must be multiplied by The conversion factor 35) should be 1/40 s or more. Of course, the corresponding speed shooting results are different, as shown below:
Dynamic feeling F 2.5 1/30 seconds ISO 500

Wonderful moments F 2.8 1/400 sec ISO 1250
Third, ISO: This ISO everyone treats him as a tool that changes the photo's brightness and darkness. As long as you know that under the premise of a safe shutter (guaranteed not to paste) if the picture is dark then increase the ISO just fine. But not the higher the better the ISO, because the high ISO will increase the noise of the photo imaging, we take a good photo to see when you zoom in to understand, then we generally divided the ISO into several situations: 1. Night tripod with a tripod (ISO 100 or 50) 2. There is no tripod at night (ISO 800-3200 mainly depends on the performance of the camera, some cameras are open for 1600, most people can accept, and even think that it feels like film, you have to Understand that in order to shoot the subject is not clear, ensure the shutter speed, so open so high ISO, vary from person to person, so not much to comment) 3. Shoot sunny weather (ISO 200-400) is mainly these three situations. As shown below
Figure 1 Aperture F2.8 Shutter 1/200 sec ISO 500
Let's take a look at the local magnification
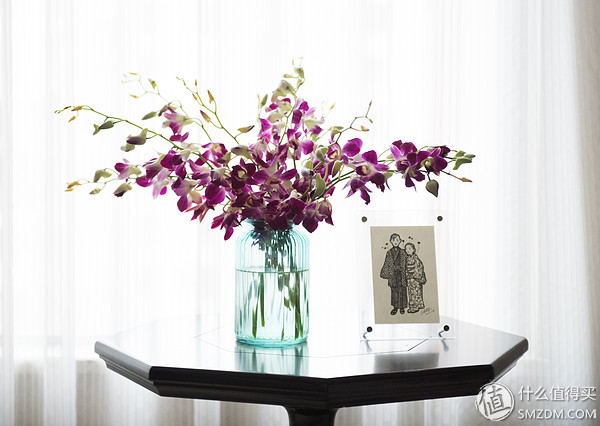
Figure 2 is the aperture F2.8 shutter 1/1250 seconds ISO 3200
After the partial enlargement of Figure 2, we see a lot of noise, which is the difference between ISO level.

The last picture is that I used another camera to take a picture from the viewfinder. Everyone saw from left to right in the viewfinder: there is a point in the box (focus mode), 200 represents the shutter speed, F2.8 is Aperture, 0 This is the exposure scale (correct exposure or not, Nikon left is dark, right is bright.) Then uppercase M stands for M file full manual exposure mode, ISO 500, (575 represents my memory card also How many shots can I take?) Here is a re-introduction of a parameter metering method.
In summary, the same picture can be obtained for any type of exposure. To think of a cylinder of exactly the same size, we can let him be finer but longer. It can also make him a little rough, but it should be short and always be the same. Do you understand that?
Fourth, metering methods: divided into spot metering, center-weighted metering, matrix metering, individual 3D color matrix metering and color matrix metering. (Nikon users) Unless you are a master, you can rely solely on the eye to observe purely light-free, or how do you know the relative accurate exposure EV of your eyes, the answer is the light meter. The camera's built-in light meter can accurately indicate the correct aperture, shutter speed, and sensitivity (as long as the metering method is selected), so only the meter indicator in the viewfinder is in the middle. Location, you can be sure that your exposure is accurate! ! On the other hand, the exposure meter will only give you an accurate exposure, and will not interfere with your operation. Therefore, there is no problem with underexposure and overexposure. The key lies in your own judgment and the way you want to express it.
Fifth, focus mode: divided into single-point AF-S, AF-C continuous focus, and finally the manual focus M (Nikon users) different focus methods for different shooting scenes, single-point focus is generally shooting still life, and will The shutter can only be pressed after the in-focus tone is sounded. The continuous focusing mode is generally to record a dynamic object without the in-focus tone, and it is also possible to freely press the shutter. Manual focus can be ignored by beginners, but it also has a great effect. If the camera can't focus at certain times, you can choose to turn the focus ring to focus.
Speaking here today, these are also my personal knowledge that are more important and should be quickly learned by beginners. I hope to help everyone after watching it! Thank you for supporting my friends as always.
Oca Sheet

OCA (Optically Clear Adhesive) glue sheet is a type of adhesive film that is used in the assembly of electronic devices, particularly in the display industry. It is a transparent and optically clear adhesive that is used to bond different layers of a display module together. OCA glue sheets are commonly used in the manufacturing of smartphones, tablets, and other electronic devices with touch screens or LCD displays.
The main purpose of OCA glue sheets is to provide a strong and reliable bond between the layers of a display module, while also ensuring optical clarity and minimal distortion. It helps to eliminate air gaps and improve the overall visual quality of the display by reducing reflections and enhancing color vibrancy.
OCA glue sheets are typically made of a high-quality acrylic material that is optically transparent. They are available in various thicknesses and sizes to suit different display applications. The sheets are usually pre-cut to the required dimensions and then applied to the display layers using a lamination process.
Overall, OCA glue sheets play a crucial role in the manufacturing of electronic devices with displays, providing a reliable and visually pleasing bonding solution.
Oca Sheet,Oca Sheet Paper,Oca Glue Sheet,Oca Glue Paper Sheet
Dongguan Jili Electronic Technology Co., Ltd. , http://www.ocasheet.com